Setting Up My Bare Metal Server
January 15, 2025
I recently decided to level up my infrastructure game and got myself a bare metal server from Hetzner's auction. For just $92.86/month, I landed an absolute beast of a machine:
 1 x Dedicated Server "Server Auction"
     * AMD Ryzen 9 5950X
     * 2x SSD U.2 NVMe 3,84 TB Datacenter
     * 4x RAM 32768 MB DDR4 ECC
     * NIC 1 Gbit Intel I210
     * Location: Germany, FSN1
     * Rescue system (English)
     * 1 x Primary IPv4
The primary reason for getting such beefy storage? I needed substantial space for my indexer data. Plus, I planned to run all my Docker-based services on this machine.
First things first - I named my server meimei after my daughter's cute
doll. Getting started was as simple as adding the server's IP to my SSH config:
Host meimei
    HostName <server-ip-address>
    User root
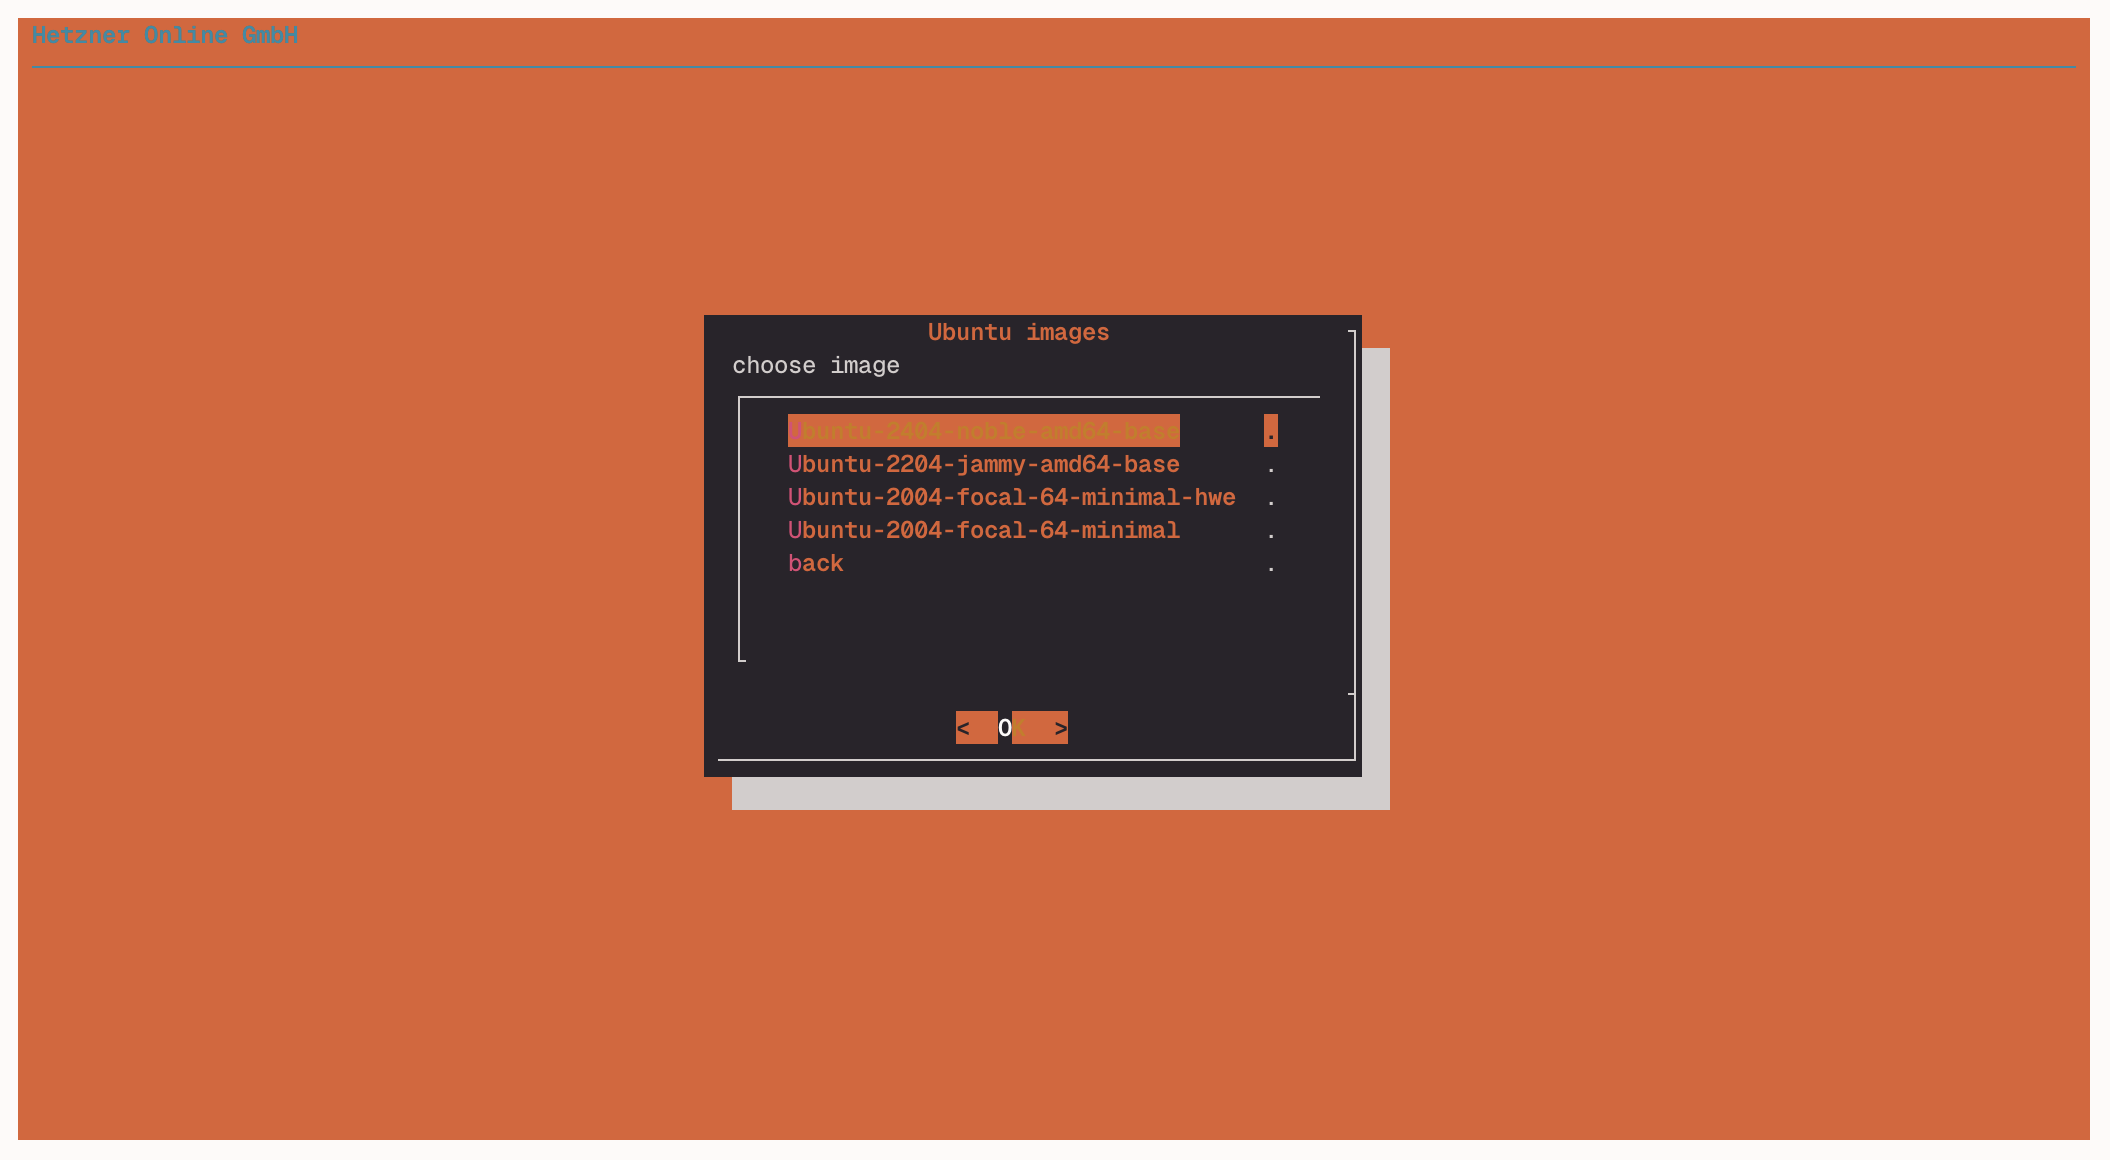
Hetzner provides a handy script called installimage for initial server
setup.

I went with Ubuntu 24.04 and configured my storage with some specific requirements in mind:
DRIVE1 /dev/nvme0n1
DRIVE2 /dev/nvme1n1

SWRAID 1
SWRAIDLEVEL 1

HOSTNAME meimei

USE_KERNEL_MODE_SETTING yes

PART /boot ext3 1024M
PART / ext4 all
Here are my key configuration choices:
- Set up RAID 1 for redundancy, ensuring server uptime even if one NVMe drive fails
- Skipped the swap partition since 128GB RAM is more than sufficient
- Used a single root partition to keep Docker volume management simple
I saved the config by pressing fn+F10.
                Hetzner Online GmbH - installimage

  Your server will be installed now, this will take some minutes
             You can abort at any time with CTRL+C ...

         :  Reading configuration                           done
         :  Loading image file variables                    done
         :  Loading ubuntu specific functions               done
   1/16  :  Deleting partitions                             done
   2/16  :  Test partition size                             done
   3/16  :  Creating partitions and /etc/fstab              done
   4/16  :  Creating software RAID level 1                  done
   5/16  :  Formatting partitions
         :    formatting /dev/md/0 with ext3                done
         :    formatting /dev/md/1 with ext4                done
   6/16  :  Mounting partitions                             done
   7/16  :  Sync time via ntp                               done
         :  Importing public key for image validation       done
   8/16  :  Validating image before starting extraction     done
   9/16  :  Extracting image (local)                        done
  10/16  :  Setting up network config                       done
  11/16  :  Executing additional commands
         :    Setting hostname                              done
         :    Generating new SSH keys                       done
         :    Generating mdadm config                       done
         :    Generating ramdisk                            done
         :    Generating ntp config                         done
  12/16  :  Setting up miscellaneous files                  done
  13/16  :  Configuring authentication
         :    Fetching SSH keys                             done
         :    Disabling root password                       done
         :    Disabling SSH root login with password        done
         :    Copying SSH keys                              done
  14/16  :  Installing bootloader grub                      done
  15/16  :  Running some ubuntu specific functions          done
  16/16  :  Clearing log files                              done

                  INSTALLATION COMPLETE
   You can now reboot and log in to your new system with the
 same credentials that you used to log into the rescue system.
After installation, I verified my hardware's condition using smartctl to check
both NVMe drives. The results were excellent—both drives showed less than 5%
usage. This was particularly reassuring since some users have reported receiving
auction servers with drives exceeding
200% usage!
Here are the commands I used to install the tools and check the NVMe drives:
apt install smartmontools
smartctl --all /dev/nvme0n1
smartctl --all /dev/nvme1n1
Output from first drive:
SMART/Health Information (NVMe Log 0x02)
Critical Warning:                   0x00
Temperature:                        39 Celsius
Available Spare:                    99%
Available Spare Threshold:          5%
Percentage Used:                    2%
Data Units Read:                    326,560,282 [167 TB]
Data Units Written:                 1,657,757,935 [848 TB]
Host Read Commands:                 3,253,570,705
Host Write Commands:                10,163,518,345
Controller Busy Time:               450,136
Power Cycles:                       26
Power On Hours:                     21,550
Unsafe Shutdowns:                   4
Media and Data Integrity Errors:    0
Error Information Log Entries:      1
Warning  Comp. Temperature Time:    0
Critical Comp. Temperature Time:    0
Temperature Sensor 1:               49 Celsius
Temperature Sensor 2:               41 Celsius
Output from second drive:
SMART/Health Information (NVMe Log 0x02)
Critical Warning:                   0x00
Temperature:                        43 Celsius
Available Spare:                    100%
Available Spare Threshold:          10%
Percentage Used:                    0%
Data Units Read:                    250,852,458 [128 TB]
Data Units Written:                 79,879,989 [40.8 TB]
Host Read Commands:                 2,217,056,494
Host Write Commands:                1,016,522,423
Controller Busy Time:               1,436
Power Cycles:                       23
Power On Hours:                     29,696
Unsafe Shutdowns:                   2
Media and Data Integrity Errors:    0
Error Information Log Entries:      172
Warning  Comp. Temperature Time:    0
Critical Comp. Temperature Time:    0
Temperature Sensor 1:               43 Celsius
Temperature Sensor 2:               47 Celsius
Temperature Sensor 3:               51 Celsius
Before diving into services, I locked down SSH password access:
cat <<EOF | tee /etc/ssh/sshd_config.d/secure.conf
PermitEmptyPasswords no
X11Forwarding no
PasswordAuthentication no
EOF
systemctl restart ssh
Next, I installed Docker Engine by following these steps.
First, I added Docker's official repository:
# Add Docker's official GPG key:
apt update
apt install ca-certificates curl
install -m 0755 -d /etc/apt/keyrings
curl -fsSL https://download.docker.com/linux/ubuntu/gpg -o /etc/apt/keyrings/docker.asc
chmod a+r /etc/apt/keyrings/docker.asc

# Add the repository to Apt sources:
echo \
  "deb [arch=$(dpkg --print-architecture) signed-by=/etc/apt/keyrings/docker.asc] https://download.docker.com/linux/ubuntu \
  $(. /etc/os-release && echo "$VERSION_CODENAME") stable" | \
  tee /etc/apt/sources.list.d/docker.list > /dev/null
apt update
Then, I installed Docker and its components:
apt install -y docker-ce docker-ce-cli containerd.io docker-buildx-plugin docker-compose-pluginTo verify the installation, I ran the hello-world image:
docker run hello-worldAfter installing Docker Engine, I set up something really cool - the ability to control the server's Docker instance from my local machine. This involved creating a new Docker context:
docker context create meimei --docker "host=ssh://meimei"
docker context use meimei
Pro tip: Don't forget to add your SSH key to the ssh-agent
(ssh-add ~/.ssh/id_ed25519) if you run into permission issues!
The Final Touch
I wrapped up the basic setup by installing docker-rollout, a handy tool for managing Docker container updates. With this foundation in place, I'm ready to start deploying services.
This server setup gives me a robust platform for running my services with plenty of storage, processing power, and memory to spare. The next step? Setting up a reverse proxy to manage access to all the services I'll be running. But that's a story for another post!
© 2025